
Camera and composition planning
Bigfoot Video Generator: A Cinematic Art-Direction Guide
Frame a fictional Bigfoot encounter
History
Loading history…
Your questions, answered
What is Bigfoot Video Generator?
It creates a short fictional creature scene using a written setting, camera view and action. Start in Text to Video for a scene described entirely in words, or use reference-based video mode when a landscape image should guide the look.
How do I start?
Choose Text to Video and describe the river path, the camera distance and one creature action. No reference upload belongs in that mode. Switch to reference-based video mode if you want to add a terrain or character image, then review the quote before generating.
Can I try it for free?
Check your current account credits and the selected model’s access conditions. When the available balance covers the quoted job, you can generate without buying more credits.
What do I upload?
Nothing is required for Text to Video. In reference-based mode, use a clear woodland image with a visible route through the scene, or a character picture with a readable face and silhouette, according to what should guide the clip.
How much does it cost?
Read the live credit quote for the selected model and settings before submitting your woodland video. Preparing inputs or editing a description does not start a generation.
When is the result ready?
Follow the submitted job’s estimate and progress. The model, settings and queue affect waiting; History keeps the completed clip available for review and download.
Put the camera where the encounter will make sense. The Bigfoot Video Generator on klingai.me lets you direct a fictional woodland scene from words or a separate image-reference mode. A river path can establish the space; a closer selfie view can reveal the character's expression. Choose one of those views for a short clip, then give the creature a simple action that belongs inside it.
Start my Bigfoot clip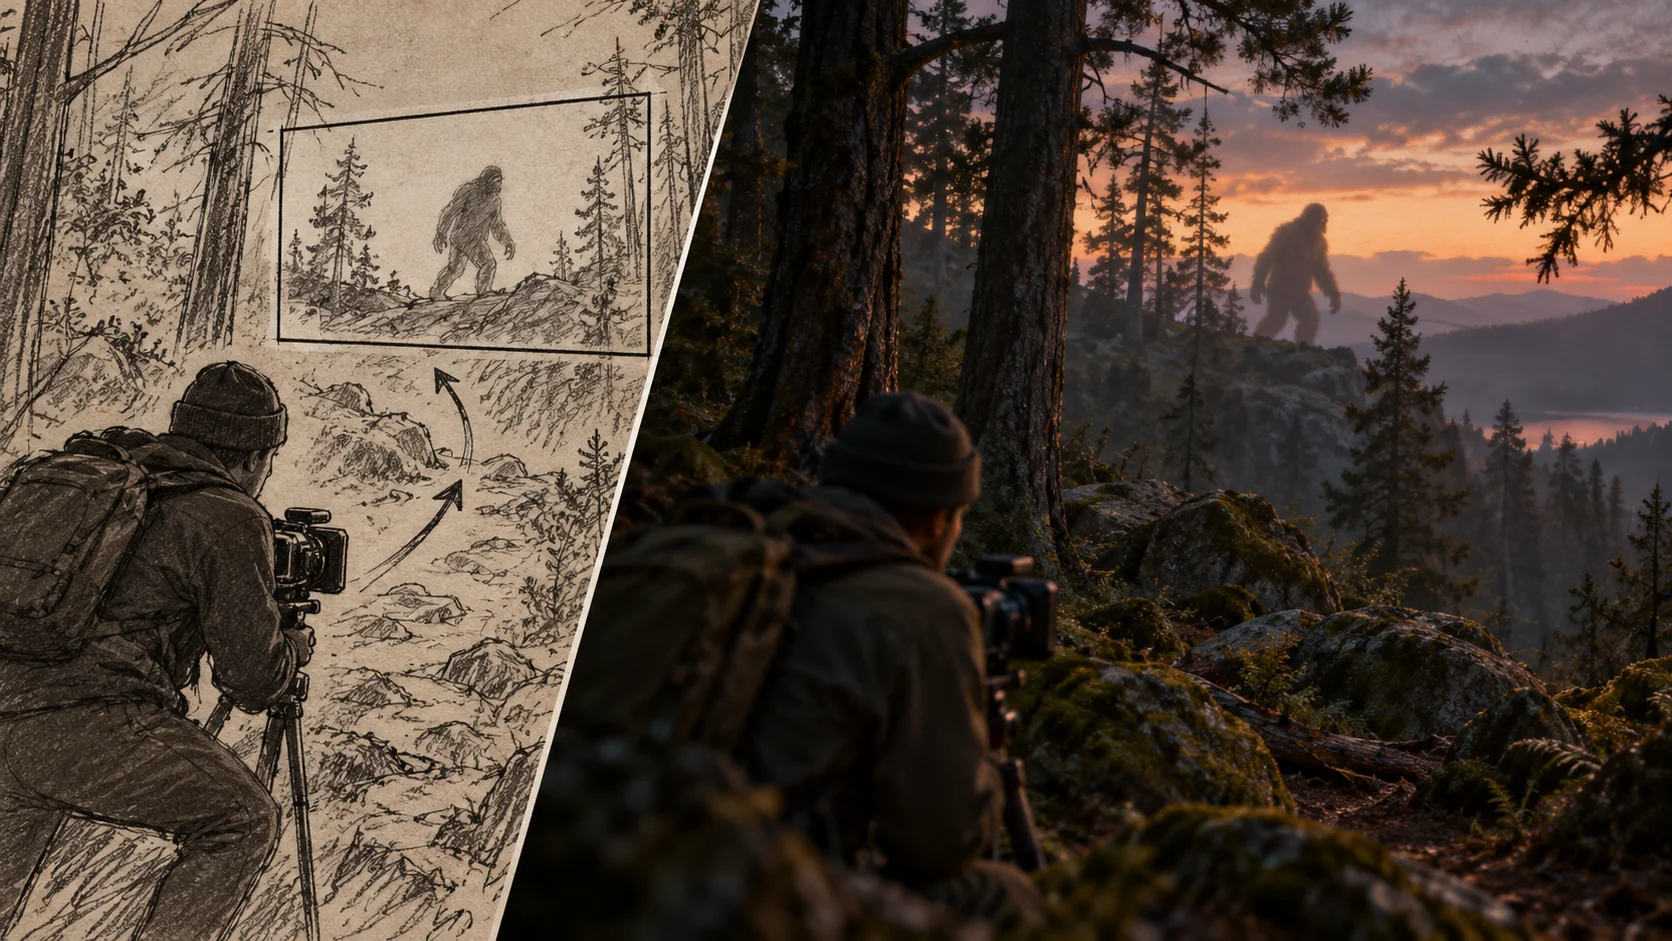
How to direct a fictional Bigfoot clip
Write the shot before the story
In Text to Video, start with the camera distance, angle and height, then add the setting and one creature action. Use words alone in this mode. If a landscape or character image should guide the scene, switch to reference-based video mode and upload it there.
Choose a direction and set the model
Decide the genre before you touch a control. A nature-documentary scene wants long lenses and stillness. A vlog wants a selfie angle and motion. Comedy wants a bad frame that hides the subject. Use the editable prompt and the available model controls to match that intent.
Quote, generate, then review
A live credit quote is shown before you commit. Log in, start the job, and check History when it finishes. Watch for framing drift and broken silhouettes. Keep the useful take, rewrite the prompt with one camera change, and compare the two clips side by side.
What the output can look like
Shot language you control
The prompt is where composition is decided. Ask for a wide establishing shot through ferns, a cramped handheld angle behind a tree, or a distant long-lens frame. Concrete camera words give the model a clearer target than mood words alone, and short sentences tend to survive better.
Optional image reference
In reference-based video mode, a forest photograph can guide the terrain and light, while a character image can guide the creature's appearance. Keep the prompt focused on how that scene should move. Text to Video uses no uploaded reference.
Editable prompt and model controls
You can revise the prompt between jobs and adjust the model settings provided. The displayed live credit quote updates before generation, so there is no surprise billing. Output is clearly fictional, and spoken dialogue or a fixed clip length is not promised, so plan around visual storytelling.
Three directions worth trying
The documentary reveal
Long lens, compressed depth, mist between trees. The figure crosses a ridge at dusk, out of focus, then gone. Hold the frame after it leaves. Cut before any clear look. The restraint sells the scene more than a full-body shot.
The shaky vlog encounter
Selfie angle, wide lens, fast walk. The vlogger talks to camera, drops the phone, and the frame tilts to leaves and a dark shape. Keep the stumble readable. Comedy and tension share the same camera language here, so the edit decides which one lands.
The comedy near-miss
A locked wide shot of a campsite. Something huge moves behind the tent while the camper argues with a cooler. The joke needs a static frame and a patient cut. Add a second wide angle from the other side of the fire to make the geography clear.
Prepare, then check the take
- Write the shot size and camera height first, then add setting and subject; keep each line short and exact.
- Describe the creature once with a few stable details, and avoid stacking contradictory features that may blur the silhouette.
- In History, compare two takes with one camera change between them so you learn which phrasing moved the frame.
Choose the reveal distance before the creature's action
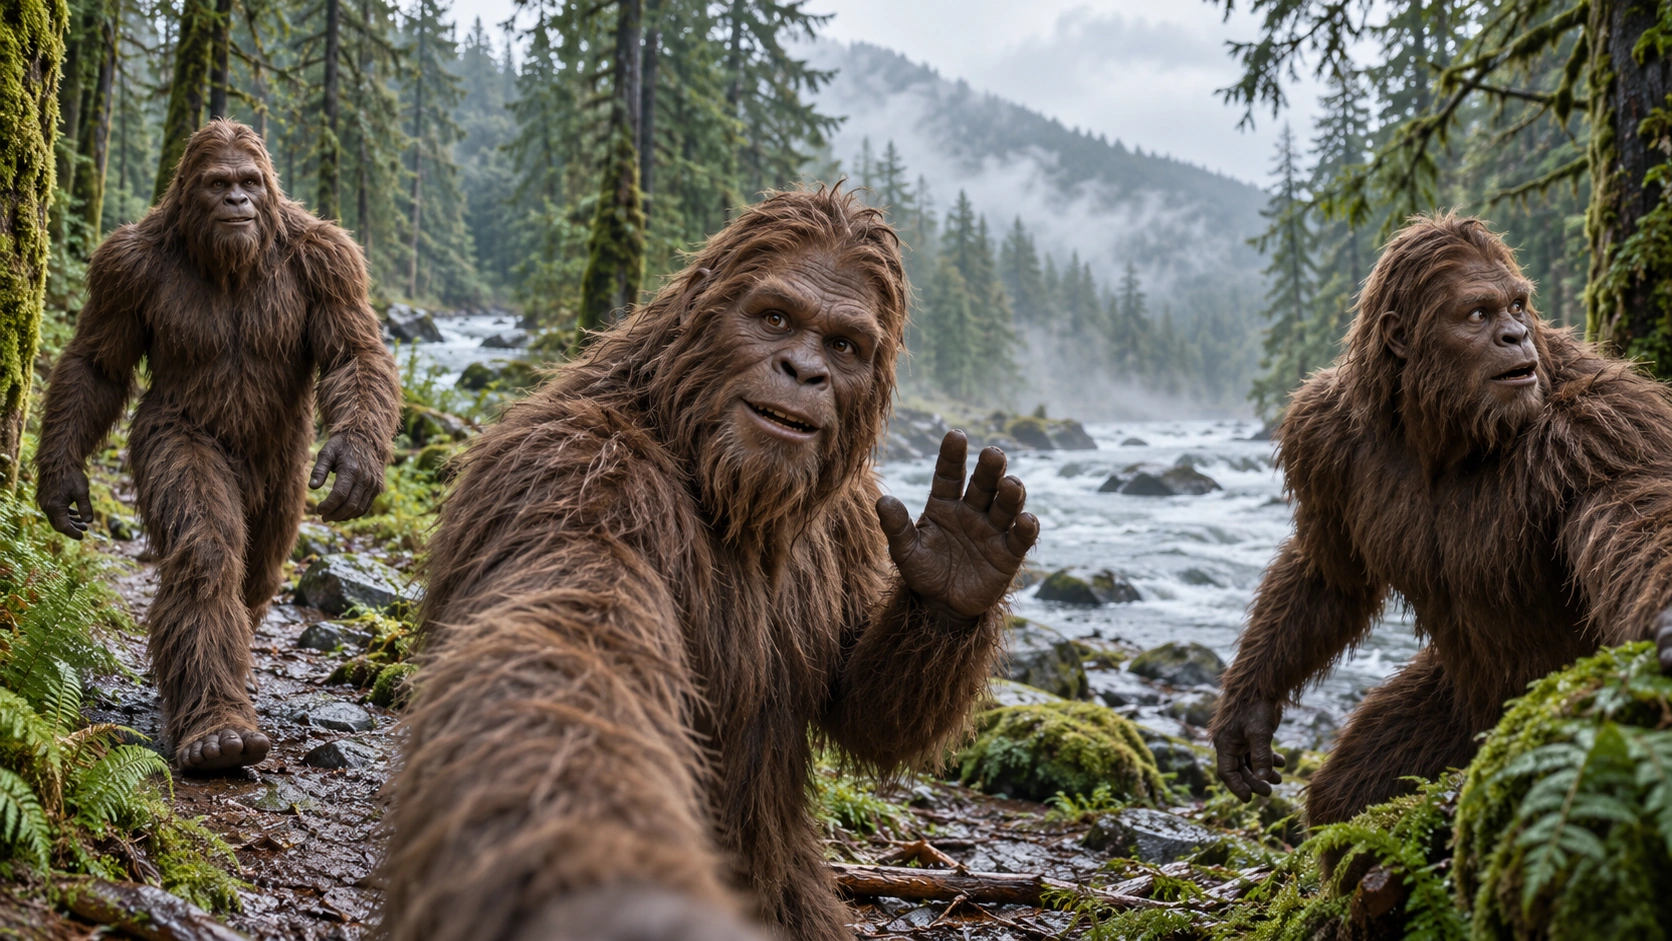
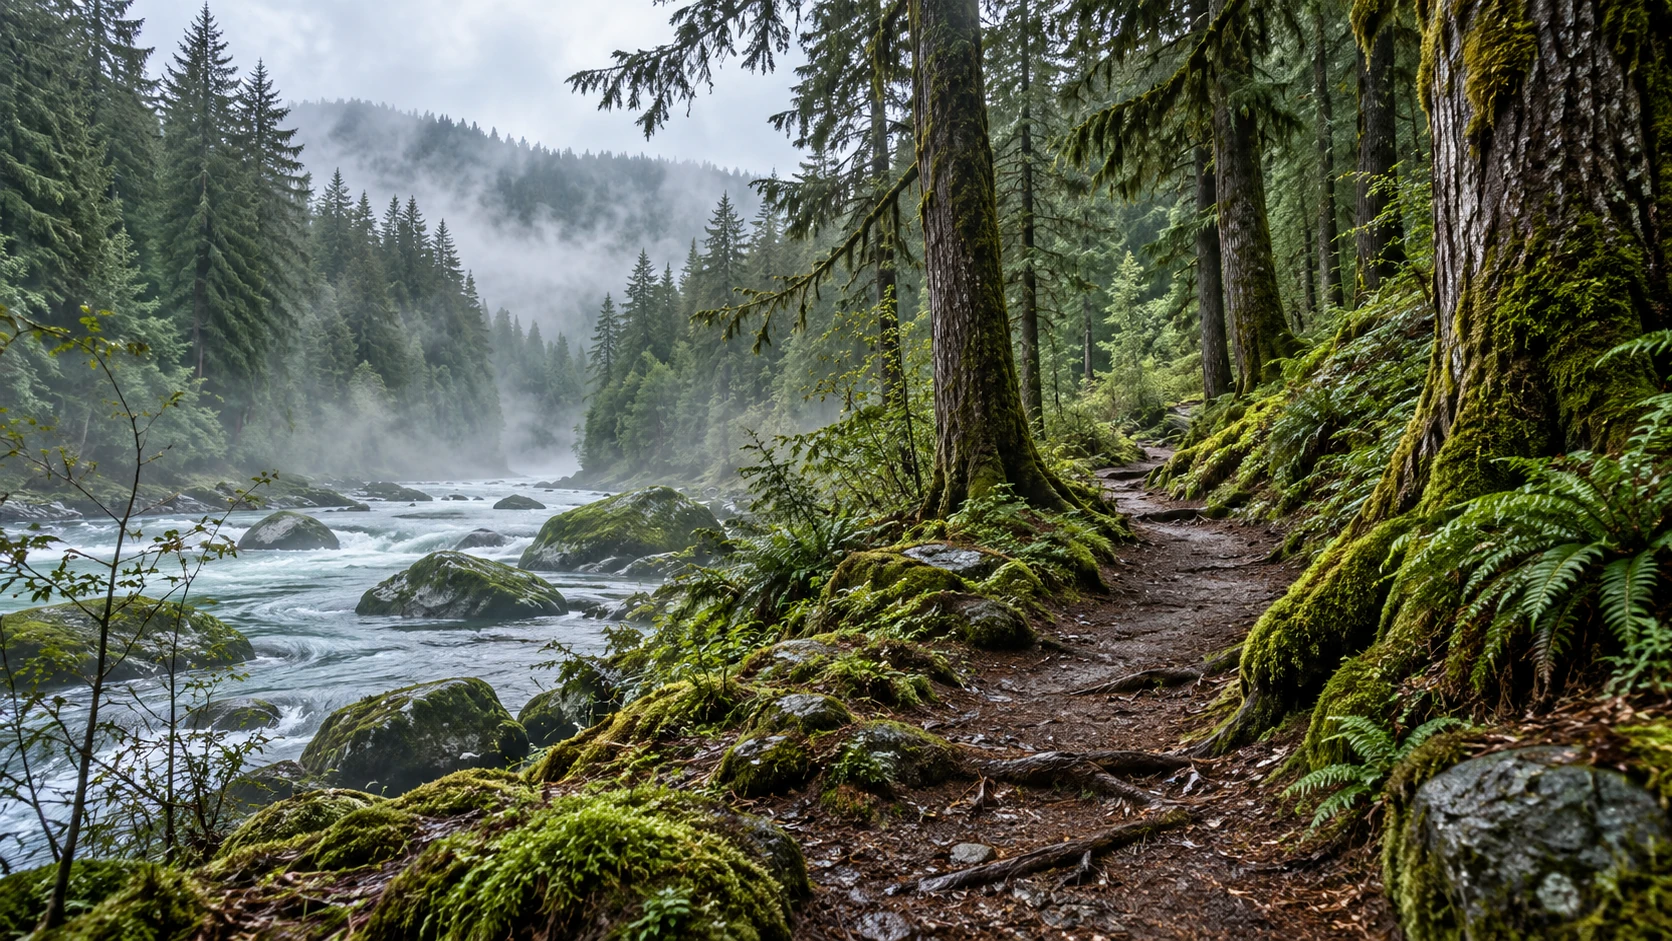
The river-path preparation view gives you a route and a sense of depth without putting a character in the foreground. Use that space to decide where the encounter begins. A distant figure walking between trunks needs a wider view and a quieter camera; a friendly selfie needs a clear face and room for a raised hand. The three-beat planning image moves from an approach to a wave toward the lens and a sideways reaction. It explains possible moments, not a requirement to fit every camera angle into one short generation. Pick the moment that carries your idea and write its camera view first.
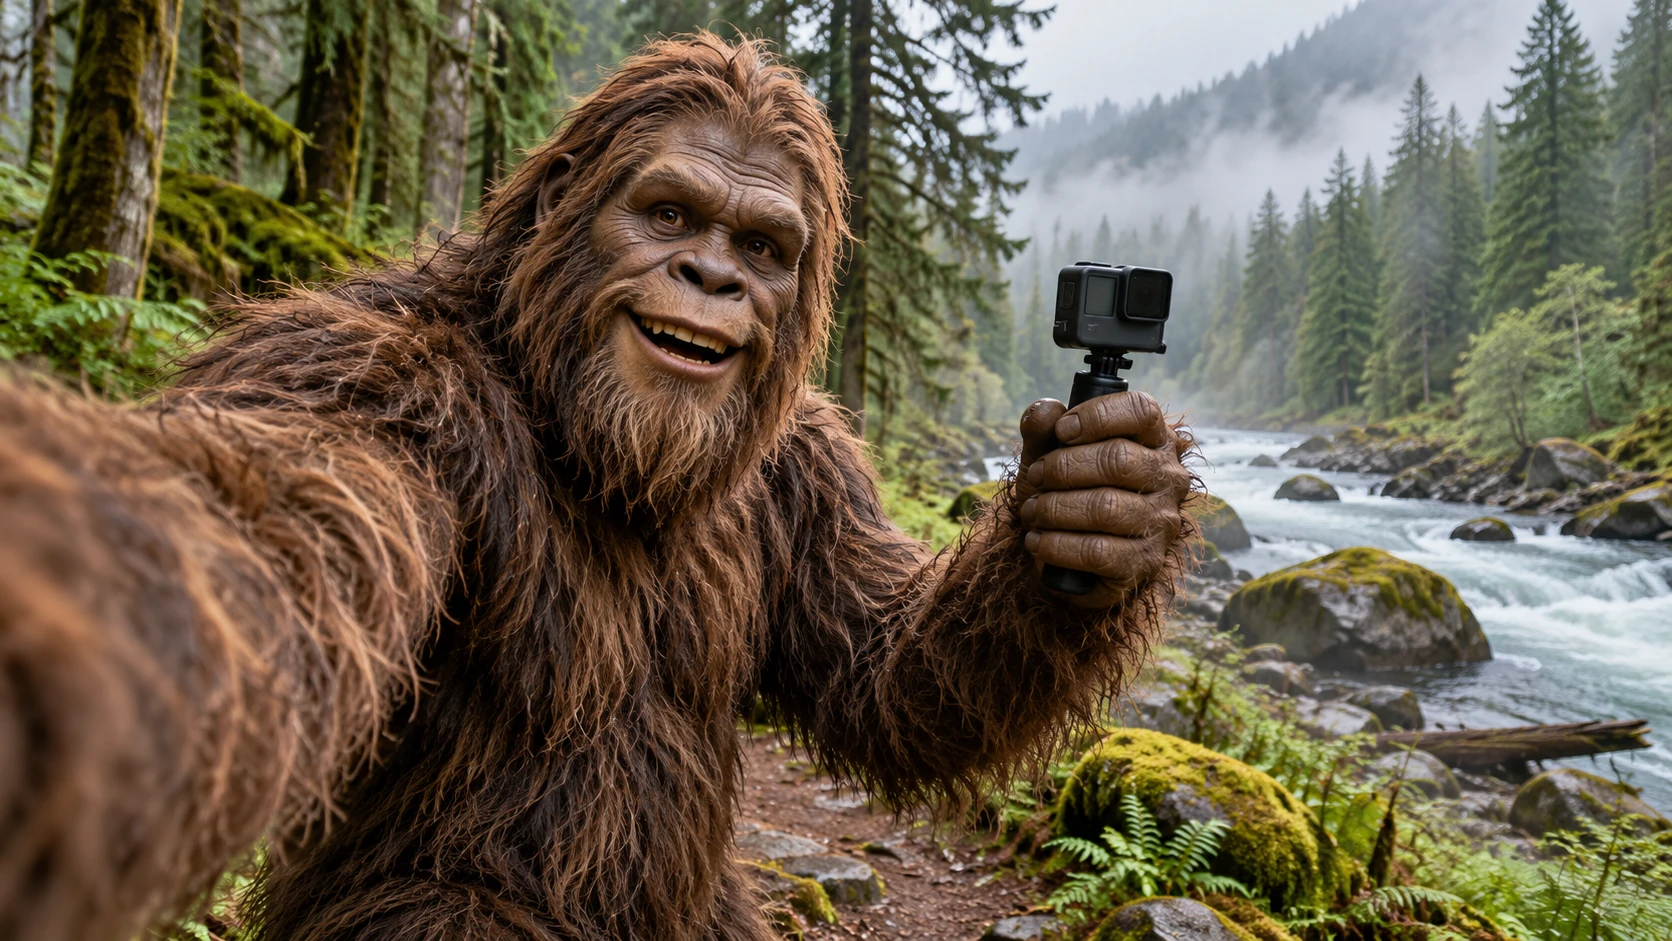
For the close view, keep the creature's face, waving hand and immediate surroundings distinct. A small action camera can support a vlog-style composition, but an object in the hand also gives you another contact point to inspect. Watch whether the fingers hold it coherently and whether the river stays in a consistent position behind the subject. If the framing becomes restless, reduce the camera movement rather than adding more actions. For a distant encounter, judge the walking route and silhouette instead. History lets you compare those two directions as separate clips and choose the camera distance that makes the intended mood easier to read.
Bigfoot Video Generator questions
What does this Bigfoot Video Generator actually produce?
It produces short fictional video clips from a text prompt, with an optional image reference for guidance. Scenes can follow a vlog, forest encounter, comedy or nature-documentary style. The creature is not real, and the page makes no claim of evidence.
Can I upload an image as a reference?
Yes, in reference-based video mode. Use an image for the terrain, light or character you want to carry into the clip. Choose Text to Video when you prefer to describe the scene entirely in words; it has no reference-media input.
Can I choose the camera angle?
You can describe the camera in the editable prompt, such as low angle, wide shot or long lens from a ridge. The available model controls support that direction. There is no guarantee the framing will match exactly, so plan a review pass.
Does the clip include spoken dialogue or a fixed length?
No. Spoken dialogue and a fixed clip length are not promised. Treat every clip as a silent visual scene unless you add your own audio in an editor. Keep the story readable through framing, motion and cutting.
How does the credit quote and login work?
Log in to use the generator. A live credit quote is displayed before you start a job, so you see the cost first. Generation jobs and results appear in History.
Frame your first fictional sighting
Log in, write a prompt that opens with the camera and the shot size, and generate one take.
Start my Bigfoot clipContinue with a related creative guide
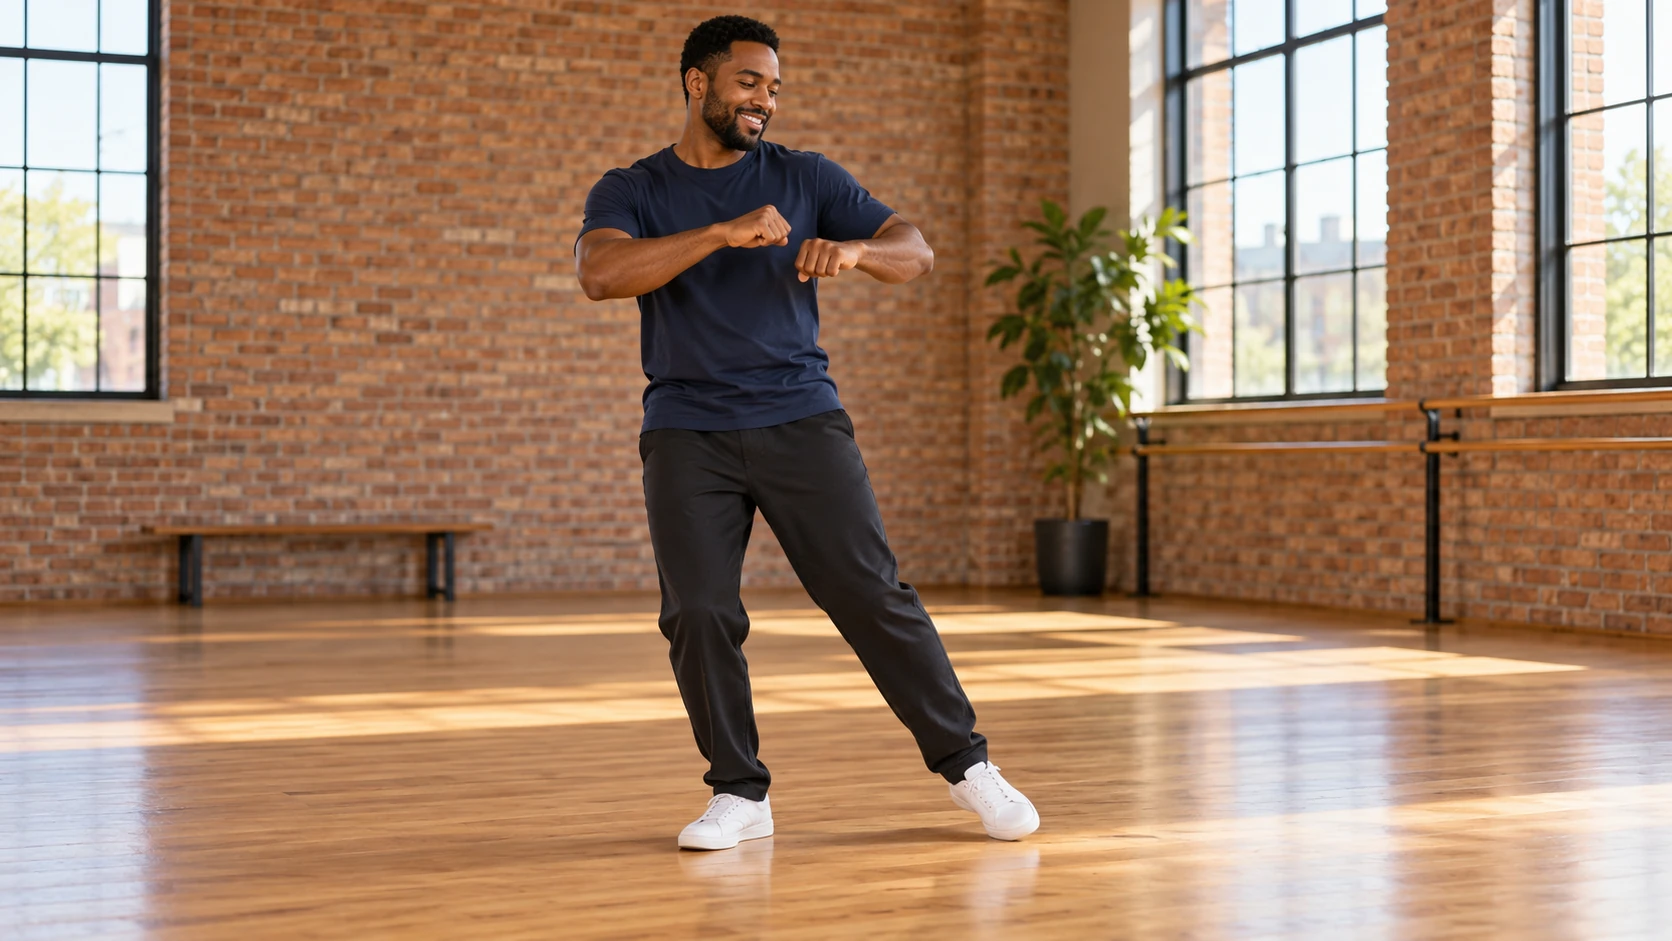
Plan readable human movement
Use a clear full-body photo to explore a short gesture-and-step routine.
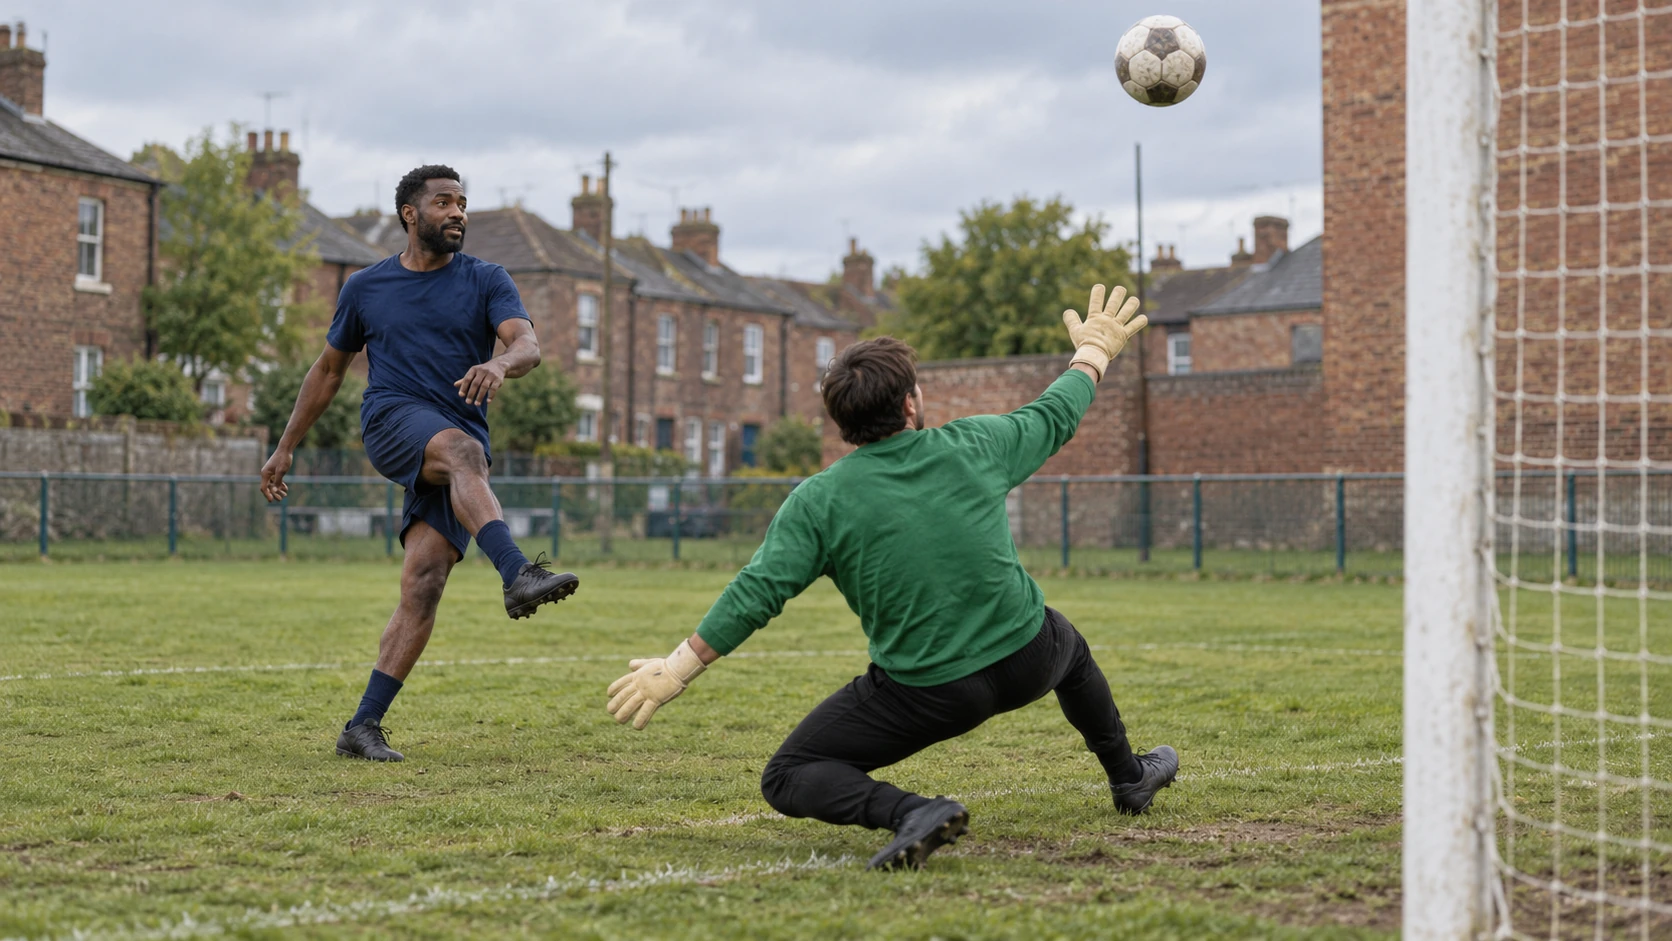
Stage a ball and keeper sequence
Make camera distance and action geography work together in a football scene.
Explore the video workspace
Choose another scene direction with the available video models and settings.
klingai.me · Updated
What's new on this page
- — Added editable example prompts and separate drafts for text and reference modes, with an action to restore the example.
- — Page content published. Updated page copy and content. Updated page images or videos. Updated page generator or navigation settings.